

Why Setup x64 Is the Default for a Typical Windows PC
Setup x64 provides the standard installer, Start-menu entry, and a clear first-launch path for most 64-bit Windows devices. MSIX is a packaged-install option, while a portable archive requires manual folder and update management; choose either only when that condition applies.
- 01
Download Setup x64
Most Windows x64 PCs use Hiddify-Windows-Setup-x64.exe. Download it from the official source and do not substitute a macOS, Android, or portable asset. Verify the filename before starting. After a mirror, interrupted transfer, browser warning, or doubtful copy, compare the official digest and do not run the file until it matches.
Download Setup x64 from the official source - 02
Run the Windows Installer
Open Setup x64 and complete the installer. On the completion screen, keep the launch option selected and choose Finish; verify the filename if Windows requests permission. Hiddify should then launch again from the Start menu. If the installer reports an error, preserve it and check architecture, digest, and disk permissions without changing proxy settings.
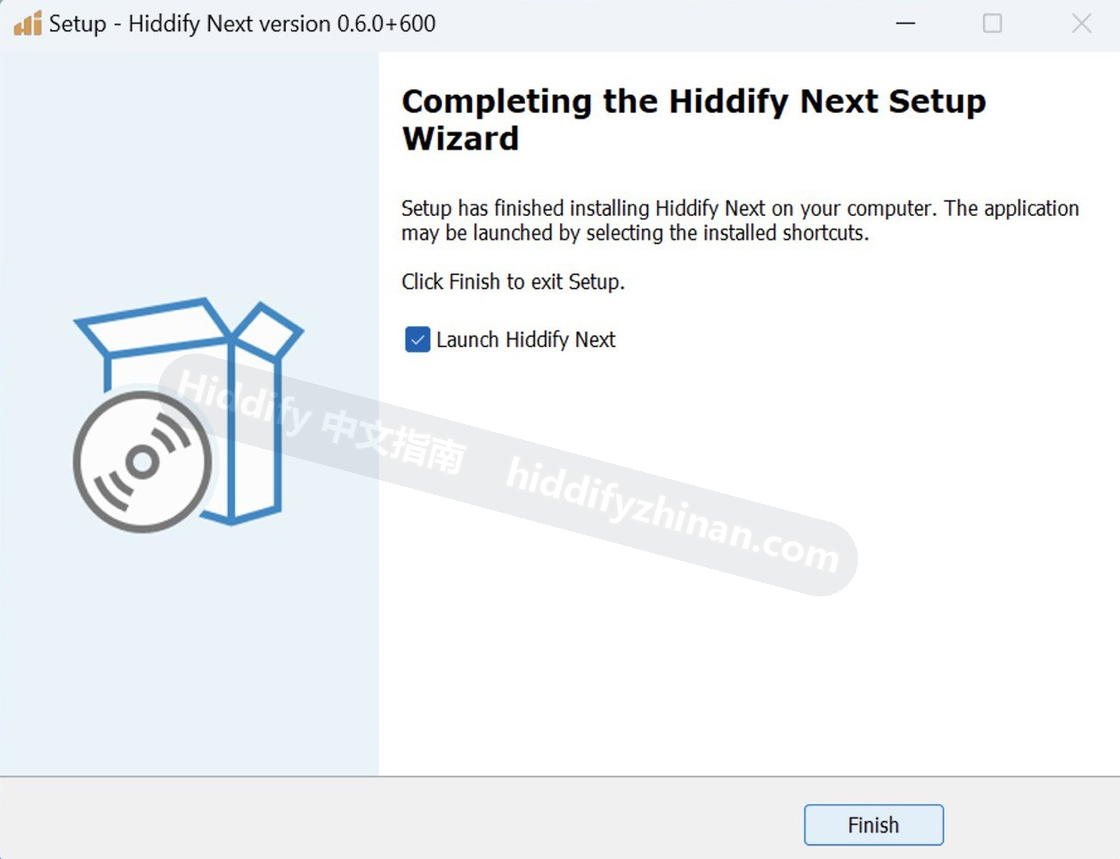
Keep the launch option selected and choose Finish; the current installer may place these controls differently. How to confirm: Hiddify can be launched from the Windows Start menu.
Recovery: If launch fails, try the Start menu and installation directory once, record the Windows message, and recheck architecture and package type before touching proxy or DNS settings. Remove a mismatched copy and return to the official source. Handle a permission or security message as written instead of disabling system-wide protection.
- 03
Choose the Interface Language on First Launch
On first launch, choose the preferred interface language in the Language dialog. This screen belongs to Hiddify, not the Windows installer. Its appearance shows that installation handed control to the application; the next signal is the dashboard. If the dialog never appears or the app exits, preserve the Windows message and return to launch or package checks instead of running several installers.
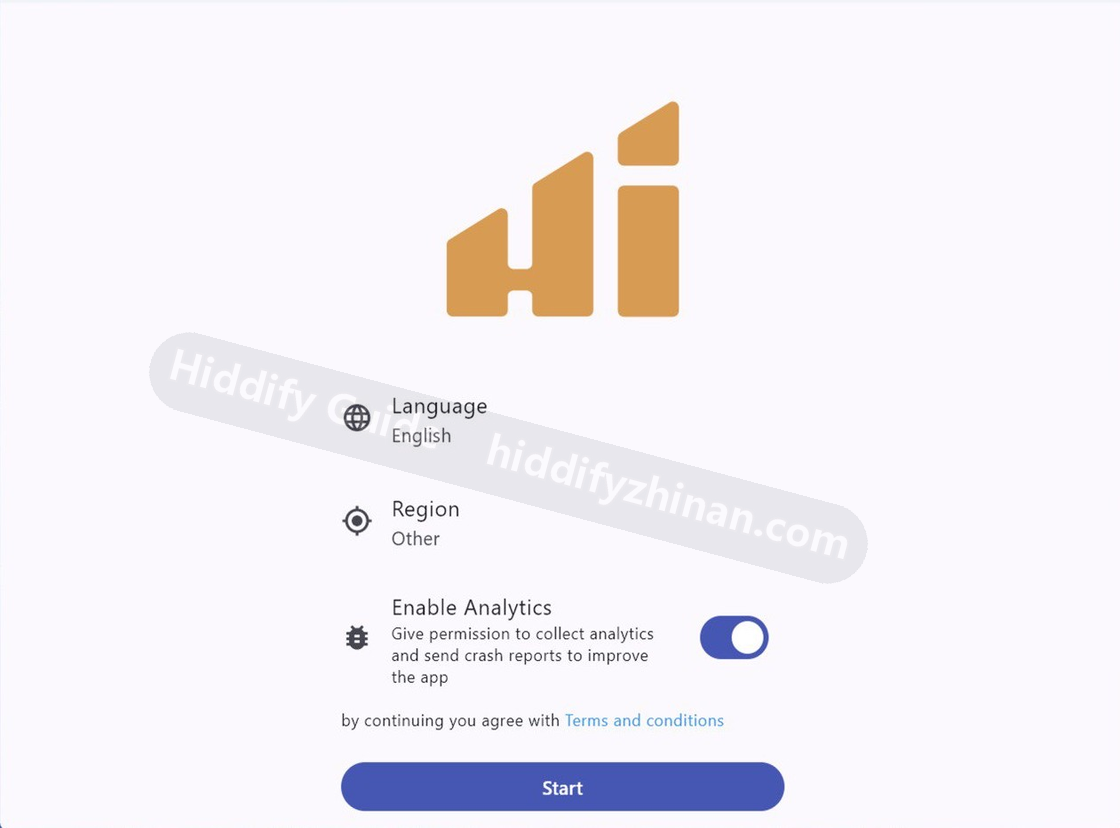
Choose the language and region, then continue; control positions may differ in the current release. After this step: Hiddify opens its main interface.
- 04
Confirm the Installed Version
Open About and confirm the Hiddify identity and installed version; the current release readback is v4.1.1. About proves only what is installed on this device. The update decision still depends on what you need to do and release evidence. If the identity or version is unexpected, verify the package source before importing a profile; otherwise continue to configuration.
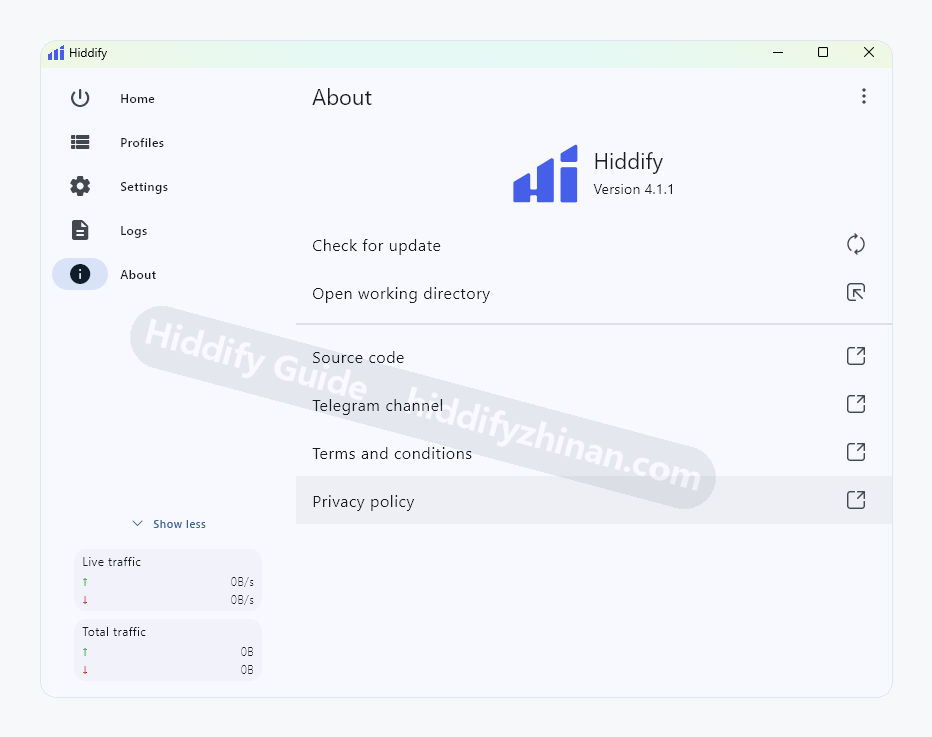
Use the About page to confirm the installed Hiddify version. After this step: The About page shows Hiddify and its version.
When to Verify SHA-256
Run the PowerShell checksum after using a mirror, an interrupted transfer, a doubtful source, or a security warning. It is not mandatory for every normal official-source install. The result must match the digest for the same official filename. If it differs, do not run the copy; delete it, redownload from the official source, and verify again.
Get-FileHash .\Hiddify-Windows-Setup-x64.exe -Algorithm SHA256SHA-256: 3f6182b610168c0bb386ffea1fc7f68318d3df23c15840c8b13a3be51b080a96
If it differs: Do not run that copy; remove it and download the file again from the official source.